Tutorial: Make a moss terrarium (it’s easy!)
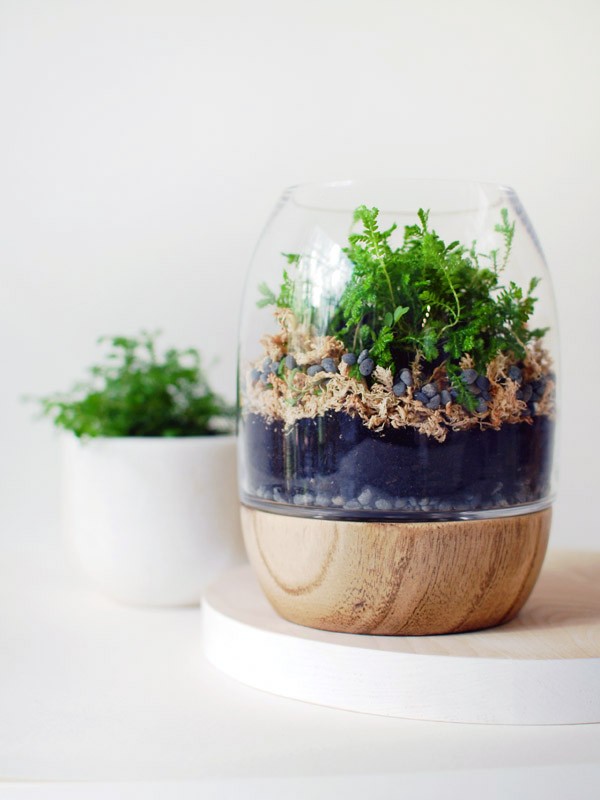
It’s no secret that I love decorating with plants, and I’ve always wanted to make a moss terrarium. I’ve seen loads of stunning glass and timber terrariums around, but the prices (around $80) are eye-wateringly expensive.
I re-purposed my gorgeous timber and glass candle holder and created a miniature mossy garden for much less than that. And it was super-easy too, as you’ll soon discover.
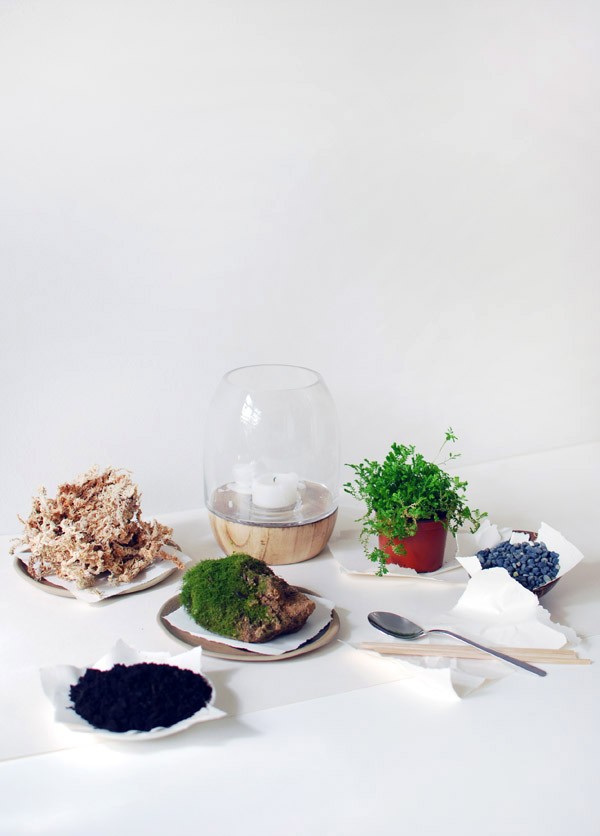
Materials
Vessel for your terrarium (I re-purposed a Freedom timber and glass candle holder – get a similar one here)
Small dark pebbles
Potting mix
Charcoal
Sphagnum (or peat) moss
Small moss plant (I used Selaginella Kraussiana)
Moss-covered stones (optional)
Old spoon
Chopsticks
Let’s Get Started
1. First, give your container a good clean, washing inside and out. Make sure it’s completely dry before starting, otherwise, bits of dirt will cling to the glass and make it look messy.
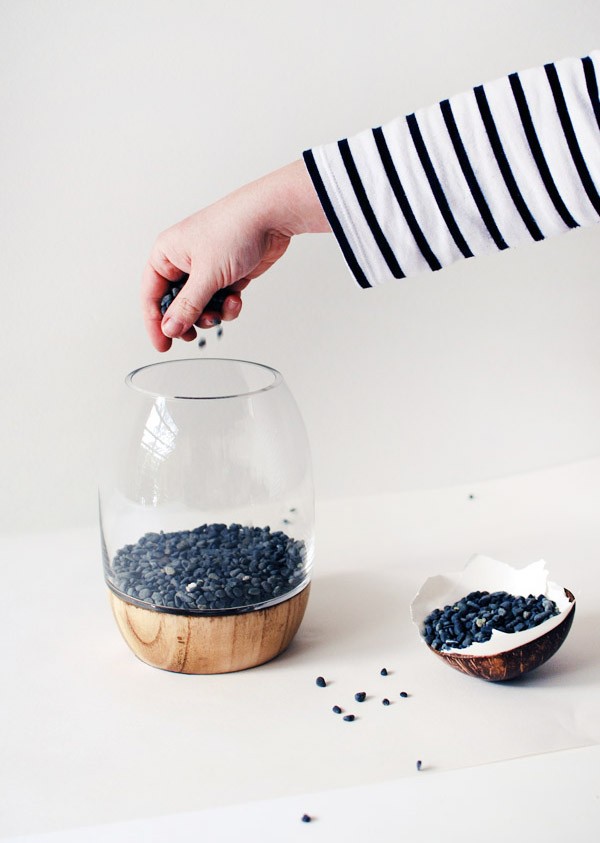
2. Carefully add a layer of small pebbles to the bottom of your vessel. Be careful to add just a few at a time, as you don’t want to break the glass. I added a layer that was about 2cm deep.
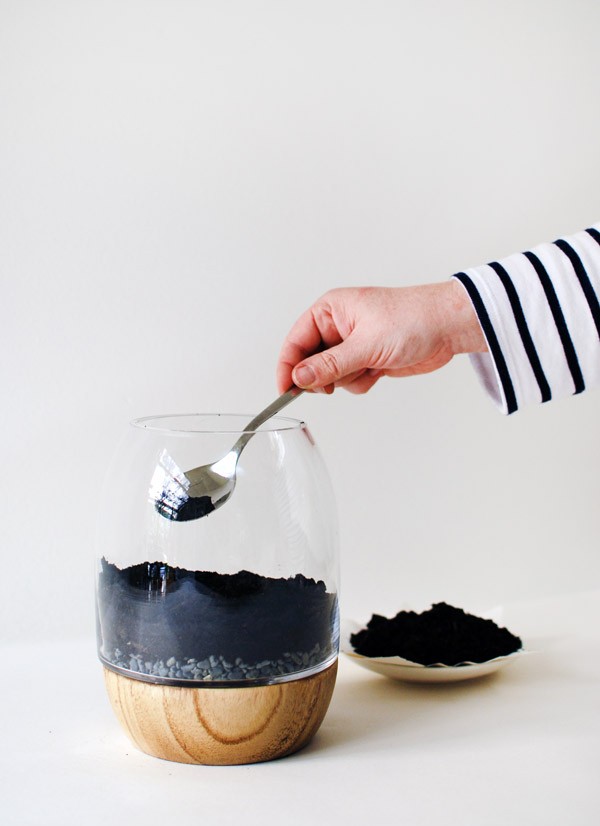
3. Next, add a layer of charcoal, which is essential to keeping your soil ‘sweet’ and assists drainage. You might want to use an old spoon for this part, as a garden trowel is too big and you want to create nice clean layers without making a mess.
4. Add a layer of potting mix on top of the charcoal. A good rule of thumb is to put enough pebbles, charcoal and potting mix to fill about one-quarter of the height of your container.
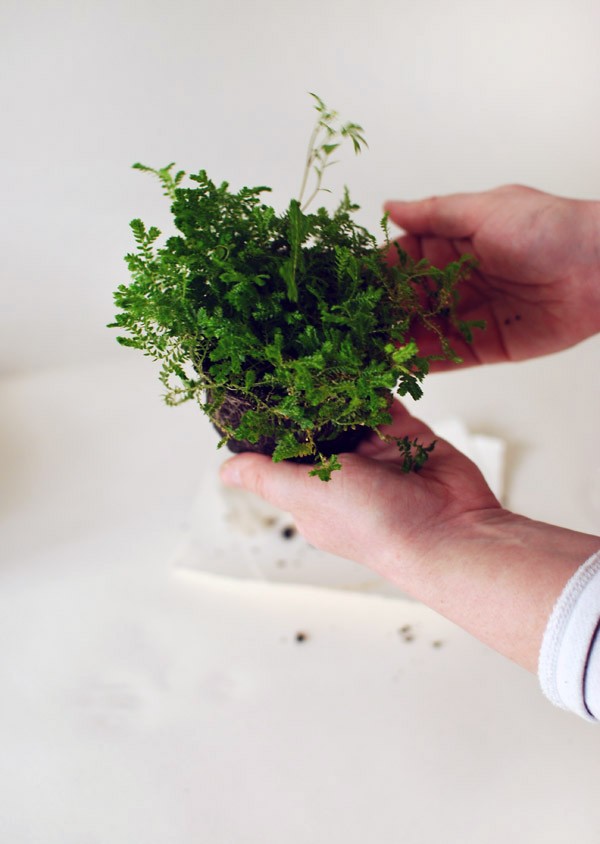
5. Now for the fun part – adding your moss and plants. If you’ve bought a potted plant, remove it from its pot by lightly gripping the stem at the base, turn it upside down, and give the base a tape. You really only need the root ball, so give it a little shake to remove some of the soil.
Make a small hole in the soil, then lower your plant into it and lightly press the soil around the plant. It’s essential that your plant is snug in the soil to prevent air pockets around the roots which may cause your plant to die.
Once I’d added my mossy plant, I discovered I didn’t have room for my moss-covered stone. But if you’ve got the space, continue to add stones around your plant.
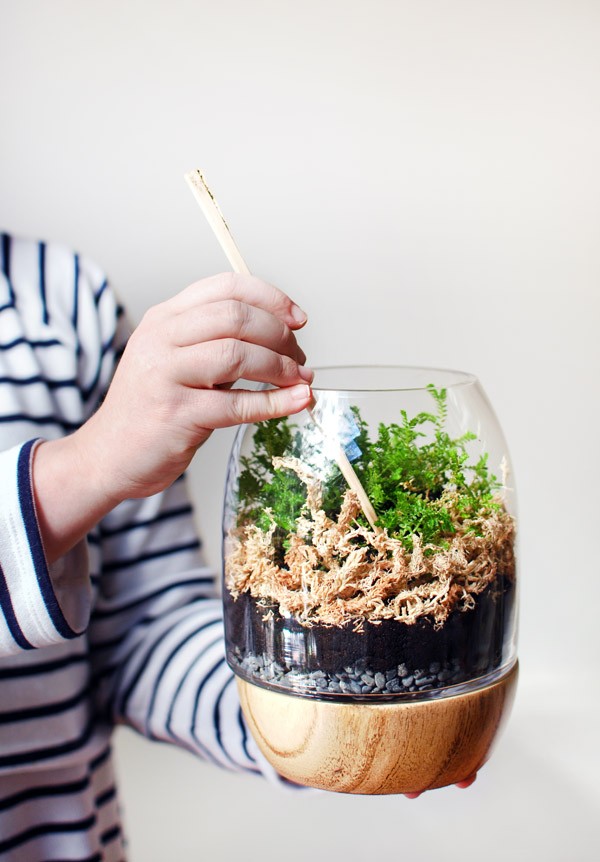
6. Add a form of top covering to the soil. I chose sphagnum moss because it’s in keeping with my mossy theme, and it’s great for an open-vessel terrarium (technically a miniature garden) because it retains loads of water and keeps everything nice and moist, which is essential for a terrarium environment.
Use chopsticks to carefully arrange the sphagnum moss around your plant.
I also sprinkled a few grey pebbles around the sphagnum moss to add colour and texture to this layer.
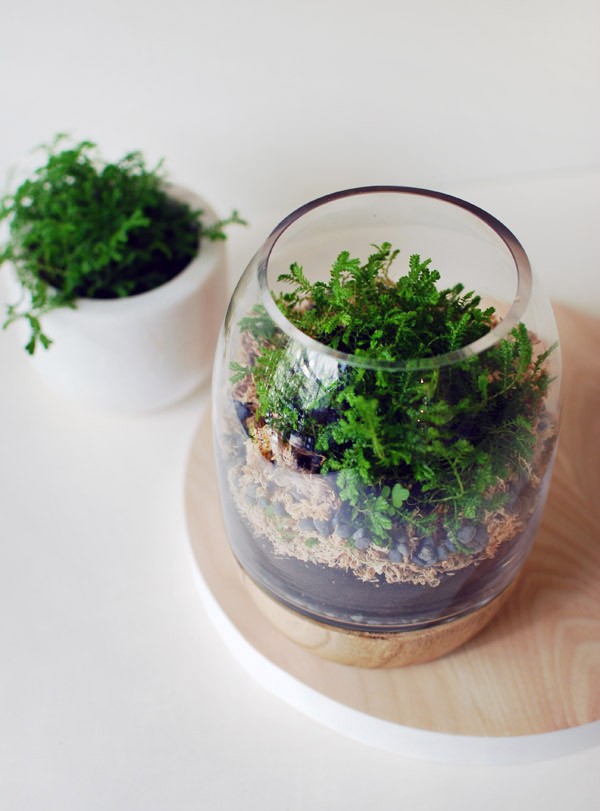
7. That’s it. You’re done. Give your new mini garden a nice drink of water – just one tablespoon, and then give it a good mist with a misting bottle.
To care for your moss terrarium, don’t place it in direct sunlight, otherwise your plants will bake! Because it’s an open terrarium, and you’ve used moss plants, you will need to mist it regularly. Keep an eye on it and you will soon work out how much misting it needs.
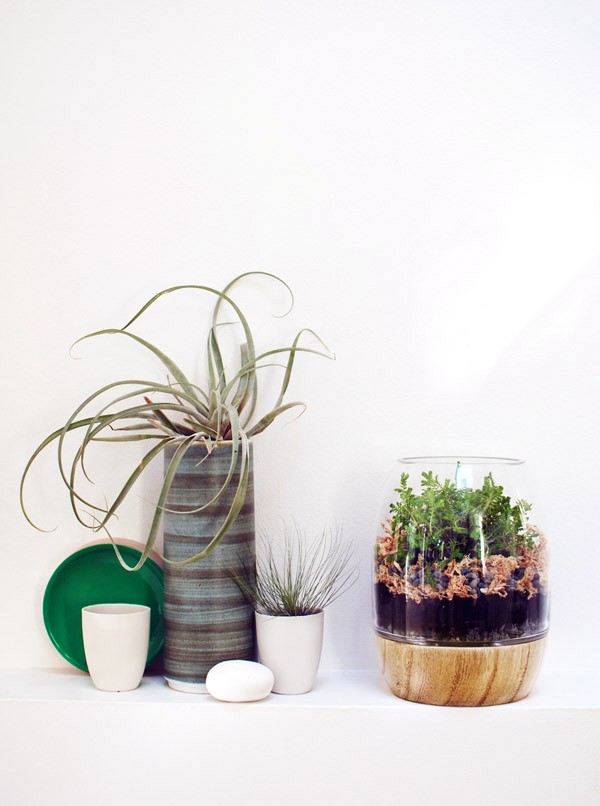
Now pop your terrarium on a shelf and admire your good work (optional shelfie for Instagram, naturally).
If you’re a Lord of the Rings fan, you might like to make my miniature Hobbiton garden.


