How to Make Your Bed Like A Stylist: Part 2
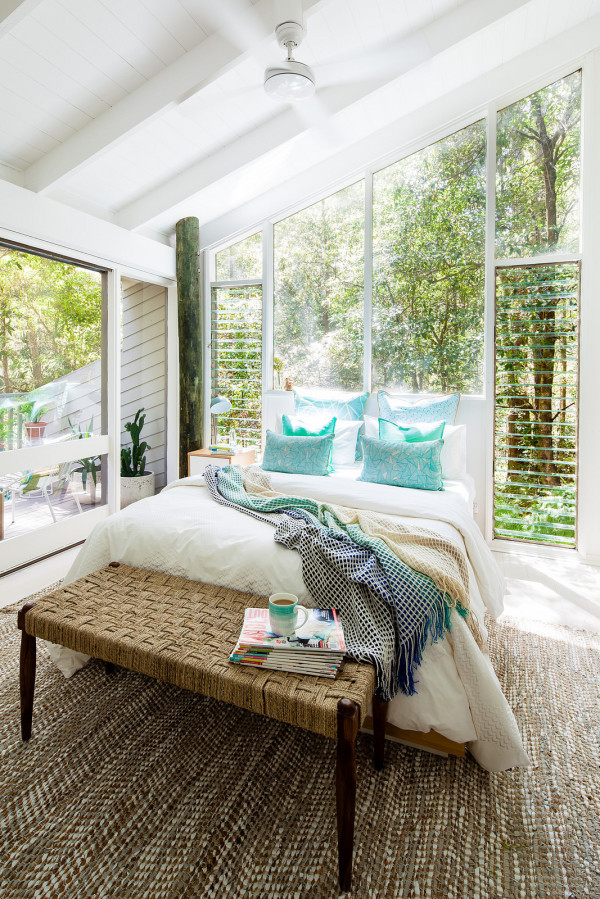
It doesn’t usually look like this. Styled by Diane Birol from Freedom ID. Photography by Lucas Boyd. Production by Rebecca Lowrey Boyd/Wee Birdy.
Why hello again, welcome back to my bedroom. Ahem.
As I explained (and revealed) in my previous post, I have a rather capricious approach to dealing with what is essentially a practical chore. The thing is, I’m immersed in the world of “stuff that likes rather nice”, so it’s impossible to ignore that inner Martha Stewart. (I once heard Martha talk about how to iron a shirt, and it was veritable work of art.) Basically, if I’m going to be arsed to make the bed, then it’s gotta look gosh-darned magazine-quality perfect.
But here’s the thing: every time I actually make the bed, it always looks a little… sad. The pillows are sagging, the duvet appears strangely lumpy, and the “casually thrown” blanket looks totally contrived, and frankly, idiotic. Can you relate?
The other thing is that my mid-century modern sensibility has meant I’ve been loathe to accessorise with too many cushions. I hate too much clutter, preferring clean lines and minimalist styling. So I’ve never had more than two throw cushions, neatly propped up in front of the pillows. I didn’t think you could still get a clean look with any more than two cushions.

Layers and textures. Photography by Lucas Boyd for Wee Birdy.
Now, I’m aware that there is a certain amount of artifice when it comes to professional styling for magazines and advertising shoots. I’ve heard super-stylist Megan Morton describe her technique for taping the underside edges of Oxford pillowcases, so that they sit up at a jaunty angle and don’t sag.
But at the same time, there are definitely some “rules” and steps to making your bed properly – in real life – and these I discovered during the shoot last month for my bedroom makeover.
The person responsible for making my bedroom look so amazing is Diane Birol, an interior decorator at Freedom’s Castle Hill store in Sydney. She goes into the homes of countless people, and advises them on what furniture and homewares to buy, and exactly how to style them. Here she is in the process of transforming my bedroom.
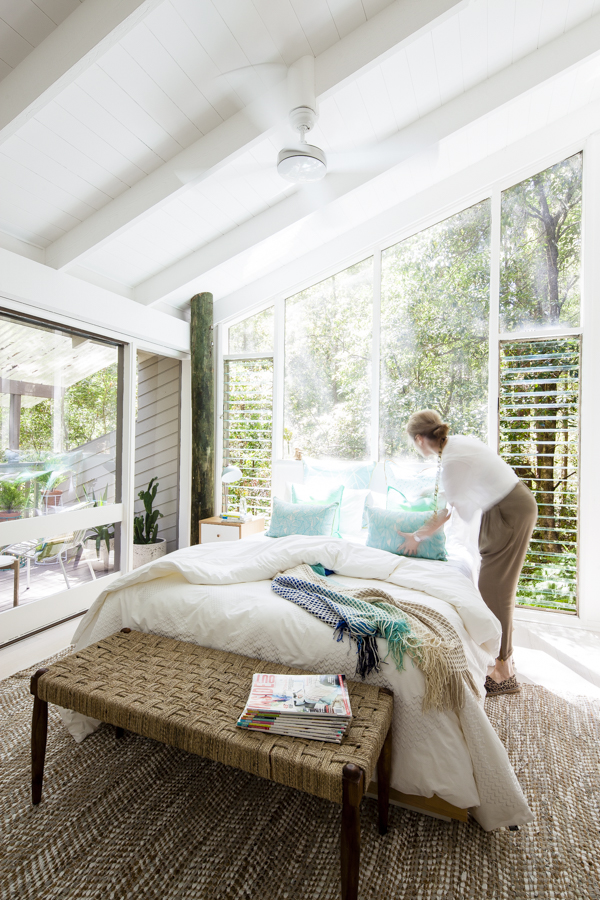
Behind the scenes: Diane Birol, interior decorator at Freedom’s Castle Hill store, works her magic on my bed, featuring Zigzag king quilt in white, $209.95, Queen sheet set in white, $199.95; Zia European cushion, $34.95; Trapeze European cushion, $34.95; Lineum cushions in Jade, $39.95; Hobe cushions in Aqua, $39.95; Clifford throw in Blue, $64.95; Disolve mug in Jade, $6.95; Succulent in bottle, $19.95; Oslo two drawer bedside table in Oak/White, $349; Penny table lamp in Dusty Blue, $49.95; Web bench in natural, $349; Fenton floor rug in White, $399. Photography by Lucas Boyd for Wee Birdy. Production by Rebecca Lowrey Boyd/Wee Birdy.
I watched as she made and unmade my bed for various looks for the shoot, and she could easily deliver the same polished look over and again – with her eyes shut. At the end of the shoot, I deconstructed every step to discover exactly what she did. So here it is: how to make your bed like a stylist, step-by-step:
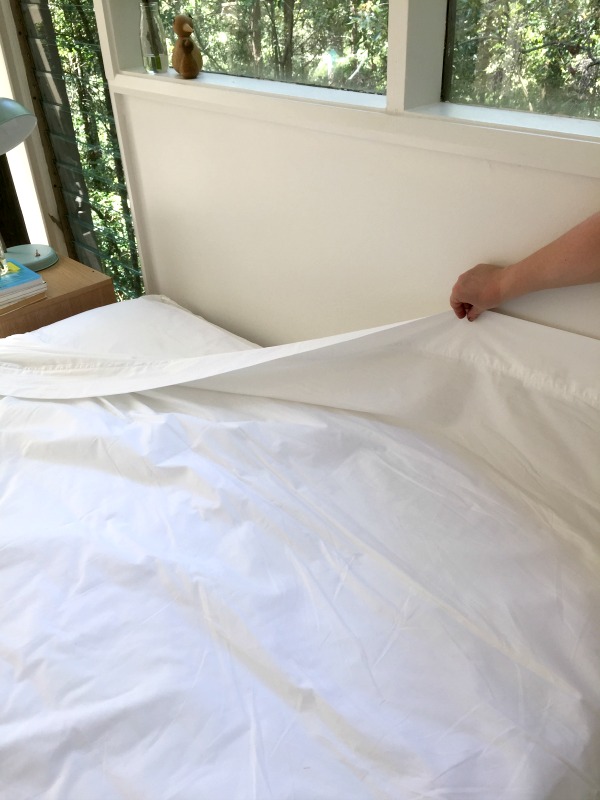
Step 1: Pull up and fold back the top sheet
Iron the top sheet. (Look, please don’t do this. It’s something stylists do for shoots and you’d be crackers to do it in Real Life. And by the end of the day, the sheet was crumpled again. But if you were having an open house or staging your home for real estate photos, by all means, whip out the iron. You’ll get that crisp showroom/hotel room look.)
Pull up the top sheet to about 25cm past the top of the mattress, then fold it back so the fold is about 40cm from the top of the mattress. Pull it tightly on both sides to create a straight line, and tuck in the sheets under the mattress.
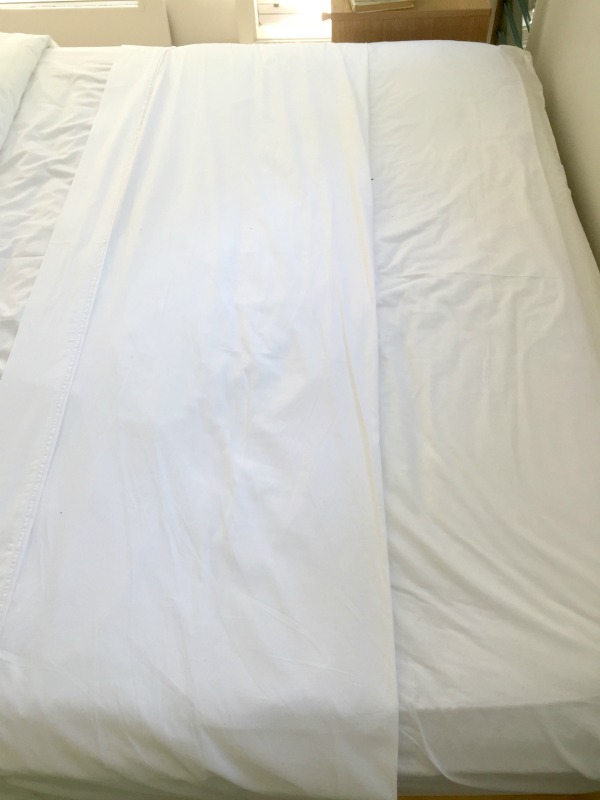
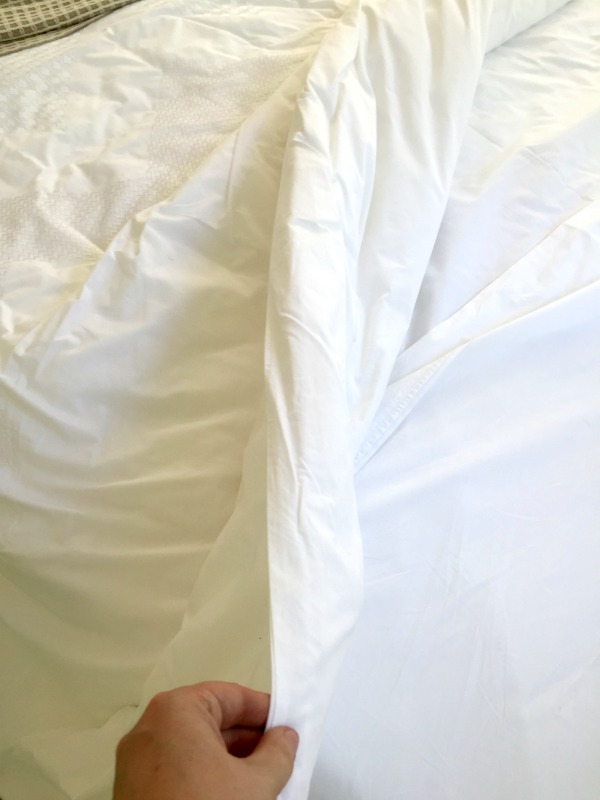
Step 2: Fold back the quilt
Visually divide the quilt/duvet/comforter into quarters. Fold back one quarter and smooth. Now fold it back again. Smooth and neaten the edges so it sits nicely about one quarter from the end of the bed. Check that the folds hang neatly and evenly on both sides of the bed. This also works with thirds.
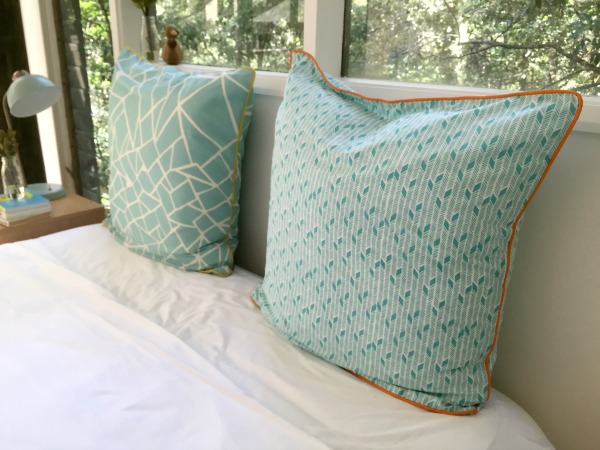
Step 3: Add European cushions
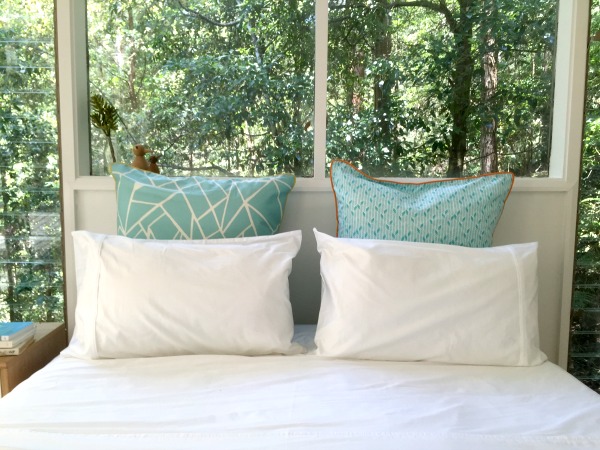
Our bed doesn’t have a bedhead, as the bedroom was designed so that the short wall behind the bed acts as a bedhead, framed by the floor-to-ceiling glass windows. I’ve never used European cushions before, and they were a revelation.
Note that we used the same tone but two different prints for the cushion covers, to create interest and avoid a look that was too matchy-matchy.
The genius thing about using European cushions is that they frame the bed and create a kind of visual of bedhead that you can be easily change with different colours, prints and textures. Love them. Bought them.
So if you’ve got an ensemble or a bed frame without a bedhead, try using European cushions. They’re keepers.
Step 4: Add standard pillows
Now Diane added two plain white standard pillows, propping them up so they sit vertically and centred in front of the European cushions.
Make sure the envelope ends of the pillowcases face outwards on both sides, so you have the ‘clean’ edge of the pillows meeting in the centre. Don’t jam them together in the centre of the bed – leave a slight space.
Step 5: Add a layer of throw cushions
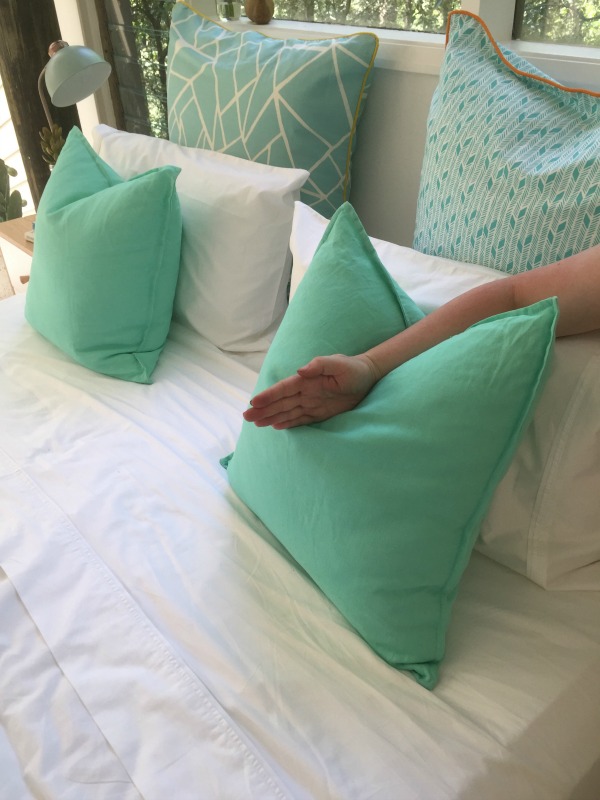
Now we add another layer to the bed arrangement. Diane chose these teal linen 50x50cm cushions, and sat them upright and centred in front of the standard pillows.
Then, she performed that tricky stylist move to create a casual, ‘lived-in’ look: the karate chop.
I’ve demonstrated the karate chop in the pic below: just give the top middle of each cushion a firm blow to create a lived-in dent. For realsies.
Step 6: Add a layer of lumbar cushions
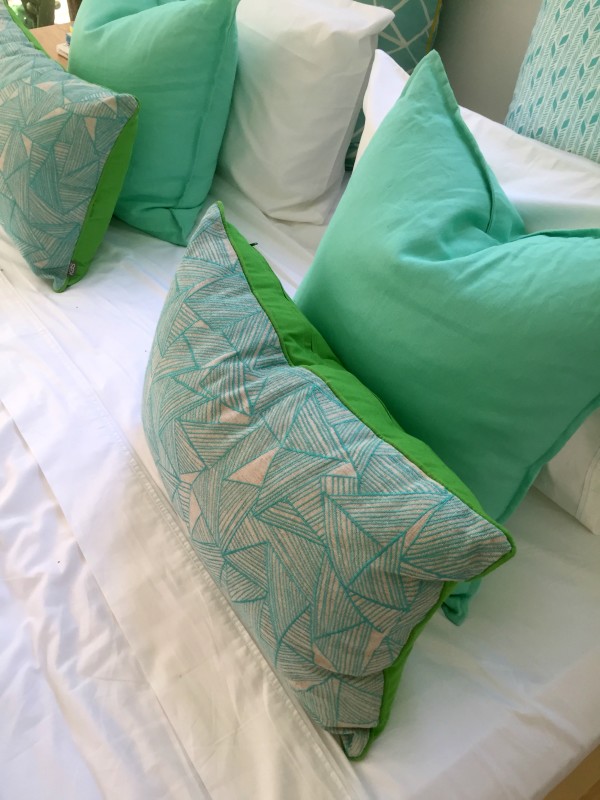
For that final layer of texture, pattern, and colour, Diane stacked a horizontal lumber cushion in front of each throw cushion.
Note how Diane has carefully constructed a beautifully layered look of different cushions and pillows in different sizes, colours, textures and patterns. The key to layering is using one theme to pull all the elements together: in this case, it’s colour, using white and teal.
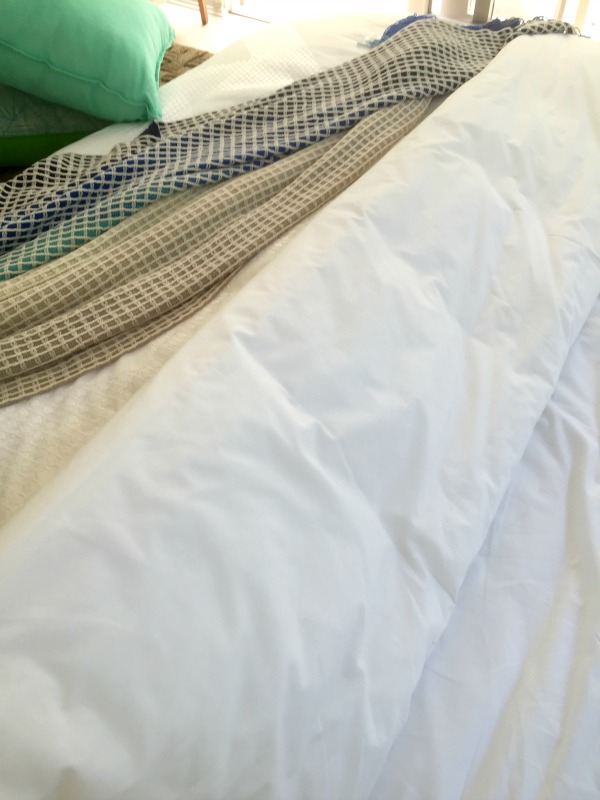
Step 7: Add a throw blanket
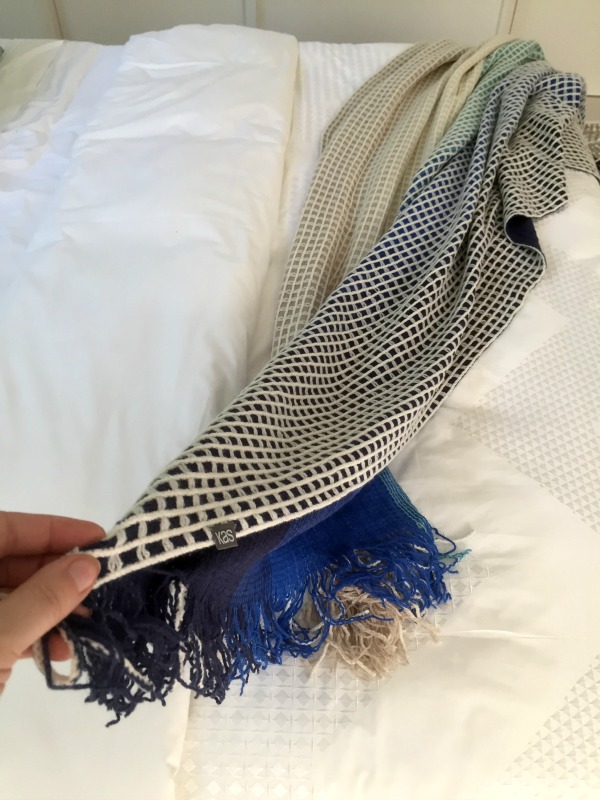
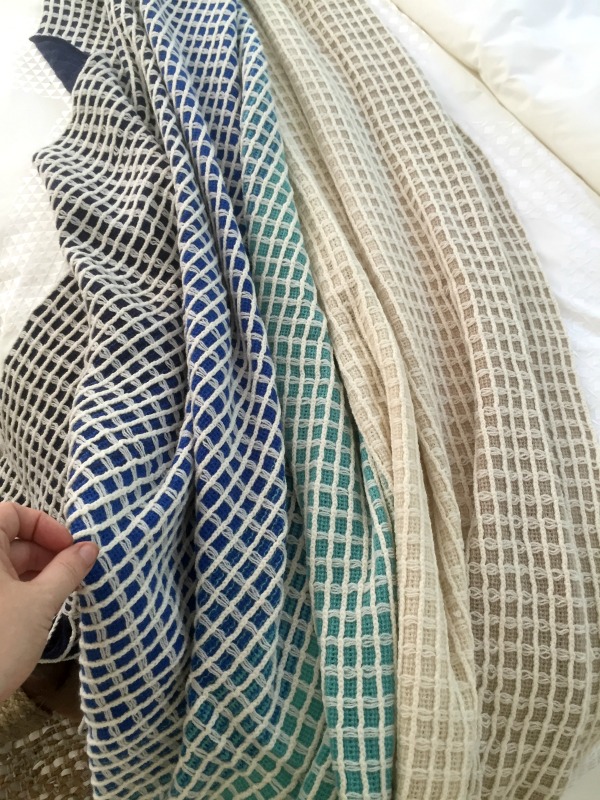
The final element to a properly styled bed is a throw blanket, which helps to visually break up the vast visual expanse of a duvet or quilt.
The ‘casually draped’ look is de rigeur right now, and it’s actually harder to pull off than it looks. When I try to do, it looks like my throw blanket is trying to make a runner, sliding into a puddle on the floor.
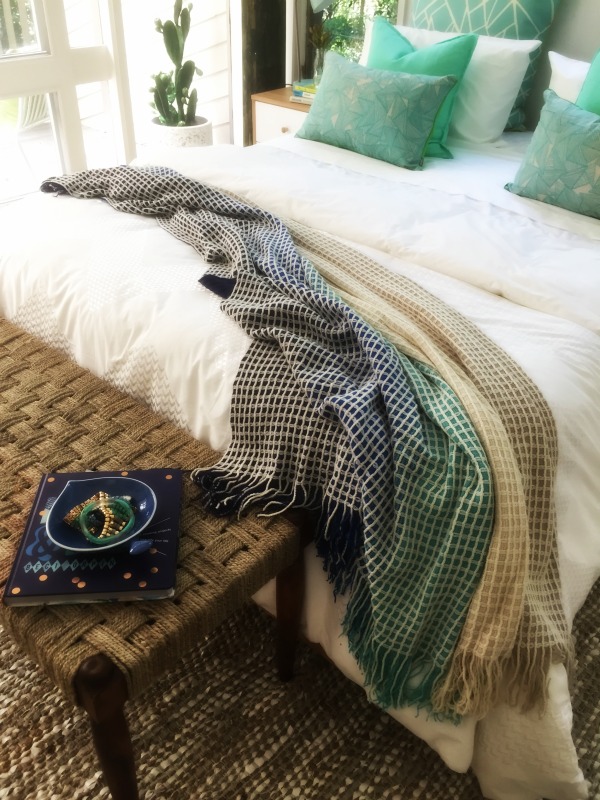
Diane, however, grabbed the corner of the blanket and held it on the diagonal, and then draped it across the bottom end of the bed on an angle. Note that the point of the blanket starts higher than the tasselled ends, which hang over the bottom edge of the bed.
Diane then created very slight accordion folds in the blanket, by picking up various points in the blanket and re-laying them.
And that’s it: a professionally-styled bed, straight out of a 5-star hotel.
Tell me: how many cushions is too many? And do you have any handy bed-making tips you’d like to share?
This is part two of a series: read the first part here.
And see more of my bedroom makeover here.


